
Specification Sheet
gogreenledinternational.com
5-Year Warranty0-10V DimmingCCT Selectable
Outdoor Lighting
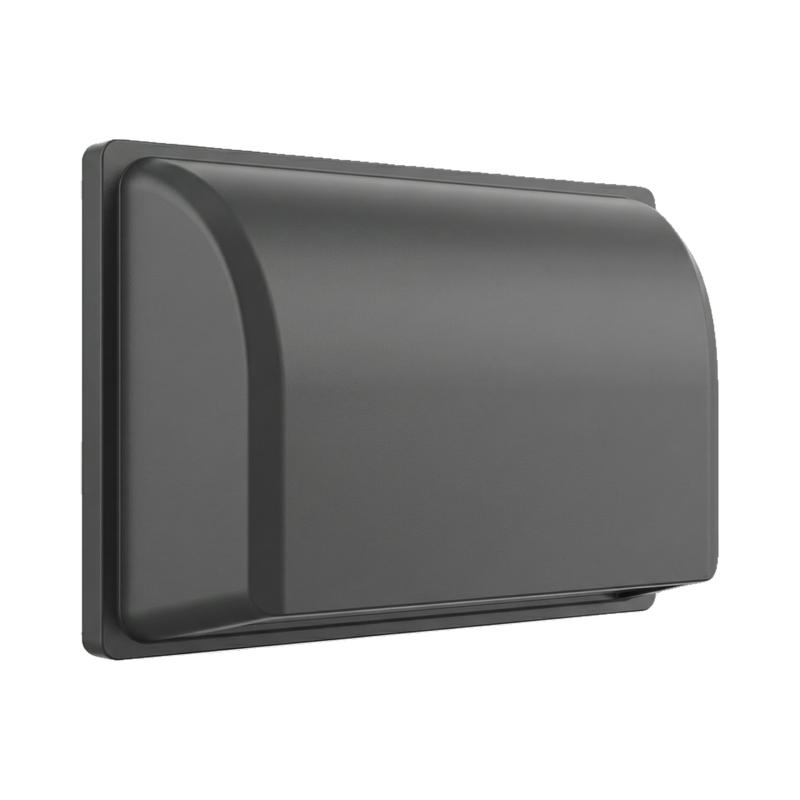
LED Mini Wall Pack
GGL-WP10
Compact LED mini wall pack with selectable CCT, wattage, and photocell via DIP switches. 0-10V dimmable. Weatherproof design for outdoor wall-mounted applications.
30W
Wattage
0-10V
Dimming
Selectable
CCT
Key Features
Construction
Compact mini wall pack design for outdoor applications. Weatherproof installation with silicone sealant.
Electrical
0-10V dimming. CCT selectable via DIP switch. Wattage selectable via DIP switch. Photocell selectable via DIP switch. Wiring: Black (Line), White (Common), Purple (+DIM V+), Pink (-DIM V-), Green (Ground).
Applications
Outdoor wall-mounted applications, building entryways, pathways, perimeter lighting.
Installation
Surface mount to wall. Knock-out holes on back side for wiring. Apply weatherproof silicone sealant between wall and fixture housing.
Listing
5-year warranty.
Warranty
5-year limited warranty. If the product fails to perform satisfactorily due to defect or poor workmanship within five years from the date of purchase, it will be replaced free of charge.
Performance Data
Configurations
| Model | Size | Wattage | Lumens |
|---|---|---|---|
| GGL-WP10-30W-PCP-3CCT | 30W | 30W (selectable) | CCT & Wattage Selectable |
Specifications
Technical Details
CCT
Selectable via DIP Switch
Wattage
30W (Selectable via DIP Switch)
Input Voltage
Not specified
Dimming
0-10V
Photocell
Selectable via DIP Switch
Warranty
5 Years
Dimensions
Physical Dimensions
Dimensional Drawing
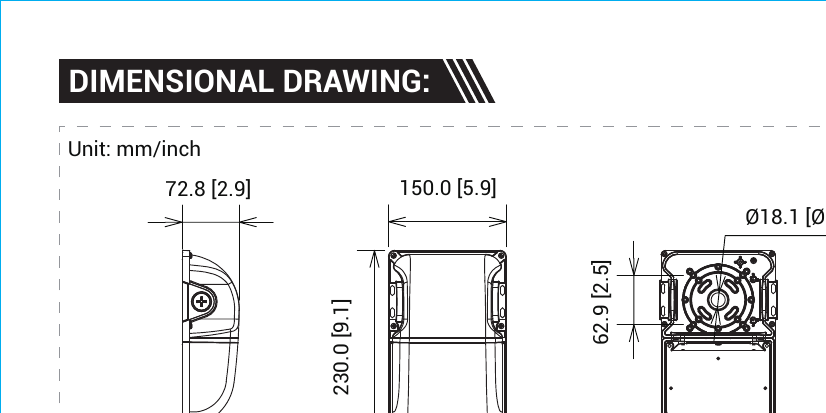
Dimensions Table
| Size / Model | Length (L) | Width (W) | Height (H) |
|---|---|---|---|
| 30W | 9.1" (230mm) | 5.9" (150mm) | 2.9" (72.8mm) |
Installation
Installation Instructions
1
Turn off power at the circuit breaker before installation.
2
Remove the fixture cover and mount the back plate to the wall junction box using provided hardware.
3
Route wiring through the knock-out holes on the back side.
4
Connect wiring: Black to Line, White to Common, Green to Ground. For dimming: Purple to DIM V+, Pink to DIM V-.
5
Set CCT, wattage, and photocell options using the DIP switches.
6
Apply weatherproof silicone sealant between the wall and fixture housing.
7
Restore power and verify operation.
Mounting Options
Wall Mount
Surface mount to wall or junction box. Weatherproof silicone sealant required for outdoor installations.